Fiesta Rice

quick & easy – perfect for a friday night

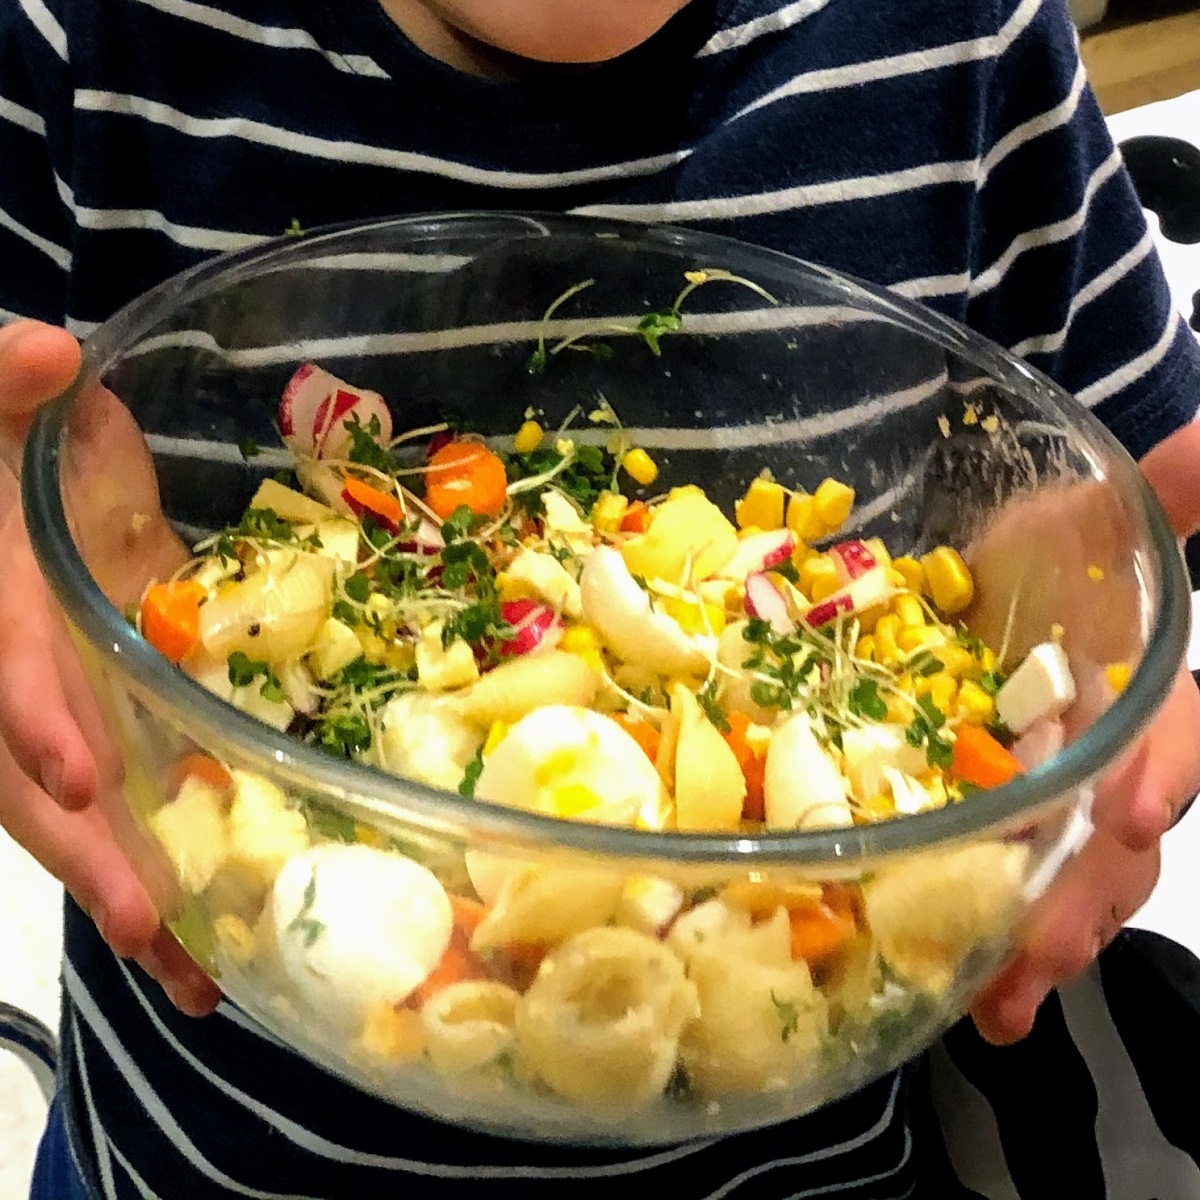
This is looked like a bowl of burrito filling, so I thought most of us would like it, and I was right! – everyone enjoyed it except DC3(9) who didn’t like the “sauce”(?) so next time we’ll try cooking them a “clean” version of the meal with no taco seasoning, black beans or cooked pepper….

link to the original recipe here

Fiesta Rice

  • Servings: 4 portions
  • Difficulty: easy
  • Print

Ingredients

  • 250g long grain rice
  • 2 tbsp lime juice
  • 2 tbsp coriander
  • enough imitation chicken for 4 people
  • 2 tbsp taco seasoning
  • 2 tbsp olive oil
  • 1 onion, diced
  • 3 sweet peppers, diced
  • 1 large tin sweetcorn
  • 3 cloves garlic, crushed
  • 1 tin black beans, drained
  • 1 punnet cherry or baby plum tomatoes, quartered
  • 1 avocado, diced

Instructions

  1. heat a pan of water & add the rice, lime juice & coriander – simmer until cooked
  2. while the rice is cooking, put the oil in a pan, season the imitation chicken with half the taco seasoning & cook until golden brown in the pan – set aside
  3. using the same pan, add the onions, sweet peppers, sweetcorn and the rest of the taco seasoning – once the veggies are browning, turn the heat down, add the garlic and cook for another 30 seconds.
  4. Add the drained black beans, tomatoes, rice & imitation chicken
  5. Stir well and garnish with more chopped coriander & the avocado

Like this? How about…

No Bake Date Bar

easy to make & delicious

It’s Christmas! Which means dates <yum> These were really easy to make & delicious, everyone liked them – even DC1, who continues to insist that they do NOT like dates 😀

link to the original recipe here

No bake date bar

  • Servings: 16 squares
  • Difficulty: easy
  • Print

Ingredients

  • 2 cup pitted dates
  • 3/4 cup cashews
  • 1/4 cup peanut butter no added salt or sugar
  • 1/2 cup desiccated coconut
  • 2 tablespoon cocoa powder
  • pinch of salt

Instructions

  1. Put everything in the mixer & process until the mixture is all all chopped up & squishes together nicely when you squash it with a spoon
  2. Put the mixture into an 8 inch square dish lined with parchment paper. Use a spoon to firmly press the mixture into the bottom of the dish.
  3. Cover and refrigerate for 30 minutes.
  4. Remove the bars from the dish and cut into pieces using a sharp knife. Store in an air-tight container in the fridge.

Like this? How about…

Spicy chilli bean soup

Warming beany soup

It’s autumn here, so I’ve gone off salads & am in soup-mode. This recipe looked easy to make & I thought the kids might like it as it involves crisps, but sadly they didn’t (although they did eat all the crisps). Never mind, this is a great soup for leftovers, so all the more for me!

Note to self – None of the children liked this (13, 9, 7), but I did 🙂

Spicy chilli bean soup

  • Servings: 4
  • Difficulty: easy
  • Print

Ingredients

  • 1 tbsp olive oil
  • 1 large onion, chopped
  • 2 garlic cloves, crushed
  • 1 tbsp tomato puree
  • 1 tsp mild chilli powder
  • 0.5 tsp ground cumin
  • 1 x 400g tin chopped tomatoes
  • 500ml vegetable stock
  • 1 x 400g can mixed beans
  • 1 red pepper, cut into chunky dice
  • tortilla chips
  • 4 lime wedges (optional)

Instructions - on the hob

  1. Put the oil in a large saucepan & put on a medium heat
  2. Once the oil is warm, add the onion & cook until tender
  3. Next add the garlic & tomato puree & stir for a couple of minutes
  4. Then stir in the chilli powder & cumin & cook for another minute
  5. Add the tinned tomatoes to the pan, along with half a can full of water.
  6. Add the stock to the pan, stir and cook for 10-15 mins
  7. Blitz with a stick blender until smooth
  8. Add the beans & red pepper, and cook for another 15 mins
  9. Serve topped with a small pile of tortilla chips & a lime wedge

Like this? How about…

Tortilla Wraps

quick & easy wraps

I meant to make pitta bread to go with some falafels but wasn’t organised enough ran out of time, so made these Tortilla Wraps instead. I’ve made them before, but had forgotten how easy they were to make. The original recipe claims these will keep for 2 days if you wrap them up, but we have never had any left over to test this theory.

Note to self – the original recipe makes 6 wraps, but we really need to have two each, so perhaps multiply by 1.5 next time & split into 10?

Tortilla Wraps

  • Servings: 6
  • Difficulty: easy
  • Print

Ingredients

  • 250g plain flour (plus more for dusting)
  • 2 tbsp vegetable or olive oil
  • 0.5 tsp salt
  • 150ml warm water

Instructions

  1. Put the flour, oil & salt into a bowl
  2. Pour the warm water into the bowl & mix together
  3. Once the dough has come together, remove from the bowl & knead on a lightly floured work surface for about 5 mins
  4. cover with a clean tea towel & let the dough rest for 15mins
  5. cut the dough into 6 equal pieces & roll each out into a thin circle to fit into your frying pan
  6. Heat up your frying pan over a medium heat.
  7. cook the tortillas one by one – they will take 1-2mins each side – wrap them in foil or cover with a tea-towel to keep them warm while you cook the rest

Like this? How about…

Carrot & Lentil soup

Quick and easy carrot & lentil soup

Sandwiches are ok for lunch, but in the colder months I need something warm to eat, so I have been making soup. This recipe sounded quick & easy, until I realised I was supposed to grate the carrots. ugh. This is my quick version of it.

When I’m feeling organised, I put this all in the slow cooker the night before & put the timer plug on for 6am, but it only takes about half an hour from start to finish on to make on the hob.

Note to self – Child 1 (12) & Child 2(9) like this, Child 3 (6) doesn’t.

Carrot & Lentil soup

  • Servings: 4
  • Difficulty: easy
  • Print

Ingredients

  • 600g carrots, peeled & chopped
  • 140g red lentils, rinsed
  • 1 tbsp olive oil
  • 1 tsp ground cumin
  • 1 litre boiling water (if you are doing this in the slow cooker, you can use cold water)

Instructions - on the hob

  1. Put the oil in a large saucepan & put on a medium heat
  2. Once the oil is warm, add the carrots
  3. After a couple of minutes, add the lentils
  4. Then add the cumin to the pan
  5. Dissolve the stock cube in the boiling water & add to the pan.
  6. Cook until the carrots are soft (about 10-15mins)
  7. Blitz with a stick blender & serve

Instructions - Slow cooker

  1. Put the oil, carrots, lentils, cumin, stock cube & cold water into the slow cooker
  2. Stir it around a bit
  3. Put the slow cooker on high for about 5 hours
  4. Blitz with a stick blender & serve

Like this? How about…

Banana Oat Bars

yummy & pretty healthy snack

I found this recipe on Runner’s World, and made them thinking they were going to come out like a flapjack, but they are actually more like oaty cake! Thankfully, I didn’t receive any complaints. We did find them really sweet though, so I halved the sugar (from 200g to 100g) the next time & they were much more to our taste – YMMV.

Note to self – DC1(12) doesn’t like cranberries, so just put them in half the mix

Banana Oat Bars

  • Servings: 12-16
  • Difficulty: easy
  • Print

Ingredients

  • 95g walnuts
  • 2 overripe bananas
  • 120ml vegetable oil
  • 100g sugar
  • 0.5 tsp vanilla extract
  • 230g oats
  • 95g plain flour
  • 0.75 tsp baking powder
  • 0.25 tsp bicarbonate of soda (aka baking soda)
  • 0.5 tsp ground cinnamon
  • 0.5 tsp ground nutmeg
  • 0.5 tsp salt
  • 90g dried cranberries

Instructions

  1. Heat the oven to 180C
  2. Chop the walnuts & place in a 20x20cm baking tray. Toast in the oven for 8 mins.
  3. Mash the bananas in a bowl. Add the oil, sugar & vanilla extract and mix until smooth.
  4. In another bowl, mix the oats, flour, baking powder, salt, cinnamon, nutmeg & bicarbonate of soda.
  5. Stir the oat mix into the banana mix, then fold in the walnuts & cranberries.
  6. Coat the baking tray with a thin film of oil, before putting the mix into the tray
  7. Bake for 25-30 mins, then allow to cool completely before cutting

Like this? How about…

Naan Bread

Delicious & easy naan bread

These were easy to make & delicious. The recipe said it would make 6 naan, but I split it into 5 to avoid arguments about who would get the extra one. Perfect for me, DH & the 3 kids (6, 9, 11)

Naan Bread

  • Servings: 6-8
  • Difficulty: easy
  • Print

Ingredients

  • 1 x 7g sachet dried yeast
  • 2 tsp golden caster sugar
  • 300g strong white bread flour, plus extra for dusting
  • 0.5 tsp salt
  • 0.5 tsp baking powder
  • 150g plain yogurt
  • 25g butter or ghee, melted, plus extra 2-3 tbsp for greasing and brushing
  • garlic (optional)
  • nigella seeds (optional)

Instructions

  1. Put 125ml warm water into a bowl and sprinkle over the yeast and 1 tsp of the sugar. Leave for 10-15 mins or until frothy
  2. While you are waiting, put the flour, remaining sugar, 0.5 tsp salt and baking powder in a large bowl & mix together.
  3. Once the yeast mixture is ready, make a well in the flour mix & pour in the melted butter, yogurt, nigella seeds and yeast mixture.
  4. Stir well, then start to bring the mixture together with your hands until it makes a nice soft dough. If it’s too wet add flour. If it’s too dry, add a splash of water.
  5. Kneed for about 10 mins on a floured surface
  6. Grease the bowl with melted butter, pop the dough in the bowl & cover with a damp towel. Leave for about an hour or until it’s twice it’s original size.
  7. If you want to keep the naan warm in the oven while you cook them all, put the oven on to a low heat now.
  8. Heat a frying pan up.
  9. Split the dough into however many pieces you want (I did 5) & roll into balls. Put them on a floured surface & cover with the damp tea towel.
  10. Roll a piece out into the shape of a naan bread, when the frying pan is hot, lay the naan in the pan & dry for for 2-3 mins, then turn over & cook for another 2-3 mins.
  11. Once cooked, brush with a little butter (add some garlic if you want)
  12. If you want to keep it warm while you cook the rest, put it on a baking tray, cover with some foil & pop in the oven. Alternatively, put straight on the table & let the fastest child win.
  13. Repeat with the other naan, piling them up on the baking tray as you go.

Like this? How about…

Sweetcorn Salad

DC3 (5) came home with this salad recipe in a school book earlier in the year & they really enjoyed making it.

DC3 (5) came home with this salad recipe in a school book earlier in the year & they really enjoyed making it.

We recently remembered about it & it has become a favourite meal.

Note to self: serve the egg & dressing on the side as not everyone likes them.

Sweetcorn Salad by DC3 (aged 5)

Sweetcorn Salad

  • Servings: 5
  • Difficulty: easy
  • Print

Ingredients

  • 1 large tin of sweetcorn
  • 2 eggs, cooked & shelled
  • pasta, cooked & drained
  • chunks of cheese
  • 1 carrot
  • cress
  • radishes
  • salad dressing

Instructions

  1. Boil the eggs (run them under cold water once cooked) & cook the pasta if you haven’t done it already
  2. Chop the eggs
  3. Drain the sweetcorn
  4. Cut up the carrot
  5. Slice the radishes
  6. Cut the cress
  7. Serve the salad as required 🙂

Like this? How about…

Yogurt Bread

Q: What do you do when you have no bread flour, no self-raising flour, no yeast & no baking powder, but want to make some bread? A: Make this Yogurt bread! #lockdown2020

Yogurt Bread

It did look a bit like cake, but it was easy to make (no kneading or proving!), tasted really nice & went perfectly with some Quick Tomato Soup!

The original recipe says to let it cool in the tin before turing out & slicing, but we were all to hungry to wait that long.

Yogurt Bread

  • Servings: 4
  • Difficulty: easy
  • Print

Ingredients

  • 500g plain flour, plus extra
  • 2 tsp bicarbonate of soda
  • 0.5 tsp salt
  • 1 tbsp sugar
  • 350-400g plain yogurt
  • 1 tbsp olive oil, plus a bit extra for oiling the bowl

Instructions

  1. Heat the oven to 200C/180C fan/gas 6 and put a flat baking sheet in the oven so it can get really hot.
  2. Line a 900g loaf tin with baking parchment.
  3. Mix the flour, bicarb, salt and sugar in a large bowl. Make a well in the centre and tip in the yogurt. Bring together to make a slightly sticky dough.
  4. Lightly dust the dough with extra flour and form into a fat log, around the same size as the tin.
  5. Put in the tin. Dip a wooden spoon in flour and make a line along the centre.
  6. Bake on the hot baking sheet for 40-45 mins or until golden brown. Leave to cool in the tin then turn out onto a wire rack to cool completely before cutting into slices

Like this? How about…

Pitta Bread

I remember seeing a recipe for pitta bread ages ago, which claimed that once you had made your own, you would NEVER buy it from the supermarket again…. Then a few days ago this recipe popped up in my Facebook Feed, so I thought I’d better give it a go!

Pitta Bread

It’s really easy to make, but does require a bit of planning to allow for the the leaving-it-to-rise bit (1hr). Luckily, I managed to schedule it around my work calls #lockdown2020. Everyone loved them & have demanded that we have them again very soon.

Note to self: The recipe makes 4 pitta breads, but I split the dough into 5 so we could have one each.

Pitta Bread

  • Servings: 4
  • Difficulty: easy
  • Print

Ingredients

  • 250g strong white bread flour, plus extra for rolling out
  • 1 tsp dried fast-action yeast
  • 1 tsp salt
  • 1 tsp caster sugar
  • 150ml tepid water (50ml boiling + 100ml cold)
  • 1 tbsp olive oil, plus a bit extra for oiling the bowl

Instructions

  1. Add the flour, yeast, sugar and salt to a large mixing bowl and stir.
  2. Pour in the tepid water and olive oil to the mixing bowl & stir again
  3. Once it’s a dough, kneed for 10 minutes on a lightly floured surface.
  4. Lightly oil the inside of the mixing bowl, then put the dough in the bowl & cover the bowl with a damp tea towel. Leave the dough to prove in a warm place for 1 hour or until it doubles in size.
  5. Turn the oven on as hot as it will go & put a large baking tray in there to heat up.
  6. Lightly flour your work surface & turn the dough out once it is ready.
  7. Cut into 4 or 5 pieces, roll them into balls & leave them to proove again under a damp tea-towel for 10 minutes
  8. When the 10 minutes are up, roll the pieces of dough out into ovals about 5m thick
  9. Take the baking tray out of the oven & quickly put as many pittas on it as you can.
  10. Quickly put back in the oven for between 4-8 minutes (mine just took 4)
  11. Take them out of the oven & leave them to cool under a tea towel.
  12. Repeat if necessary of any remaining pittas you couldn’t fit in the oven.

Like this? How about…